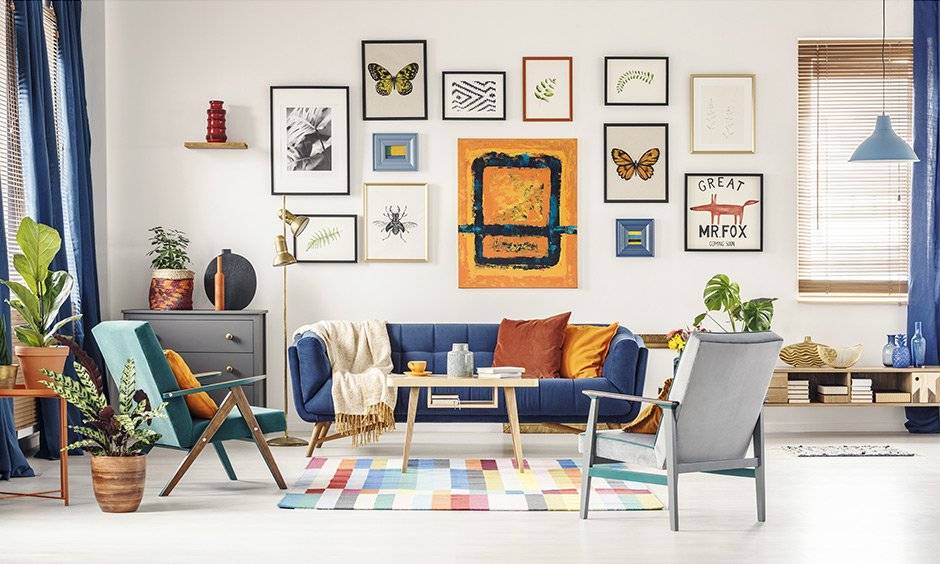
Do your walls feel bare or uninspiring? Adding personality to your space doesn’t have to involve splurging on expensive artwork or hiring a designer. With a little creativity and some DIY flair, you can transform any room into a personal masterpiece. Plus, creating your own wall art is not only budget-friendly but also a fun way to explore your artistic potential.
This blog will guide you through four DIY wall art projects that are easy to make, unique, and guaranteed to infuse your walls with your personal touch. Whether you’re a beginner or a seasoned DIYer, these projects are sure to inspire your next artistic adventure.
Project 1: Framed Fabric Art
Looking for a quick and inexpensive way to add some color or patterns to your space? Framed fabric art is an excellent choice. It’s as simple as choosing a piece of fabric you love and displaying it in a frame.
What You’ll Need:
- A beautiful fabric piece (choose colors and patterns that match your room)
- A photo frame (wooden or metal, your choice!)
- Scissors
- Tape or glue
Step-by-Step Guide:
- Measure and Trim
Lay out the fabric and trim it to the size of your frame. You can use the glass of the frame as a guide for measuring.
- Secure the Fabric
Center the fabric in the frame. Use tape or glue to secure the edges to the back, ensuring there are no wrinkles.
- Assemble the Frame
Put the glass and fabric back into the frame, and snap it shut.
- Hang It Up
Voila! Your vibrant framed fabric art is ready to brighten your wall.
Pro Tip: Mix and match different frames and fabric patterns to create a gallery wall full of visual interest.
Project 2: Geometric Wall Decals
For a clean and modern look, geometric wall decals are a go-to solution. These can easily be customized to your liking and add a polished finish to your space.
What You’ll Need:
- Washi tape or adhesive vinyl
- A ruler
- Scissors or an X-Acto knife
- A pencil
Step-by-Step Guide:
- Plan Your Design
Sketch out your geometric design on paper. Stripes, triangles, or hexagons work wonderfully for beginners.
- Prepare Your Tape or Vinyl
Measure and cut your tape or vinyl into the desired shapes using a ruler and scissors.
- Apply to the Wall
Use the pencil to lightly mark where your shapes will go. Carefully align and press each piece onto the wall.
- Refine the Design
Smooth the tape or vinyl to eliminate wrinkles or bubbles and ensure a flawless finish.
Pro Tip: Choose contrasting colors or metallic finishes for a bold effect.
Project 3: Painted Canvas Art
Unleash your creativity with painted canvas art. You don’t need to be a professional painter; abstract designs and brushstrokes can make just as big an impact.
What You’ll Need:
- Blank canvas
- Acrylic paints
- Paintbrushes or sponges
- Painter’s tape (optional)
Step-by-Step Guide:
- Prepare the Canvas
Start with a clean, blank canvas. If you want sharp lines, apply painter’s tape to create sections.
- Layer the Paint
Use brushes or sponges to apply layers of paint. Experiment with brushstrokes, blending colors, and layering for depth.
- Add Details
Once the base layer has dried, add details like dots, lines, or patterns for texture.
- Display Your Artwork
Hang your finished canvas in a prominent spot to show off your masterpiece.
Pro Tip: Abstract art thrives on imperfections, so don’t overthink it. Trust your instincts and enjoy the process!
Project 4: String Art
String art is perfect for creating intricate designs with a touch of texture. It’s surprisingly simple and satisfying.
What You’ll Need:
- A wooden board or canvas
- Nails or tacks
- Embroidery thread or yarn
- A printed template if needed
- A hammer
Step-by-Step Guide:
- Choose a Design
Pick a shape or word for your string art. Common choices include hearts, stars, or inspirational quotes. Print your design if needed for guidance.
- Position the Nails
Hammer nails along the outline of your design, leaving enough space to thread string underneath.
- Weave the String
Tie the string to a nail, and weave it back and forth between the nails to fill in your design.
- Secure and Finish
When you’re satisfied with the pattern, tie off the string and trim any excess.
Pro Tip: Mix strings of different colors or textures for added visual interest.
FAQ
Q1: Are these projects beginner-friendly?
Yes! Every project on this list is easy to follow and beginner-friendly. You don’t need prior artistic experience to get started.
Q2: What if I make a mistake?
No stress! Most DIY projects are forgiving. Use erasable materials like tape or washable paint when you’re experimenting.
Q3: How long do these projects take?
They can vary depending on the project and your pace. Most can be completed in one afternoon.
Bring Your Walls to Life
Now that you’re equipped with four creative DIY wall art projects, it’s time to get started. Whether you frame fabric, play with paint, or create intricate string art, each piece will reflect your personality and add charm to your space.
Remember, DIY doesn’t have to mean perfect. It’s about creating something that makes you smile every time you see it.
Have an idea but don’t know where to start? Drop your questions in the comments or share your own DIY tips. Start small, but think big. It’s time to bring those walls to life!
